Quick Start: Using the Default Domain
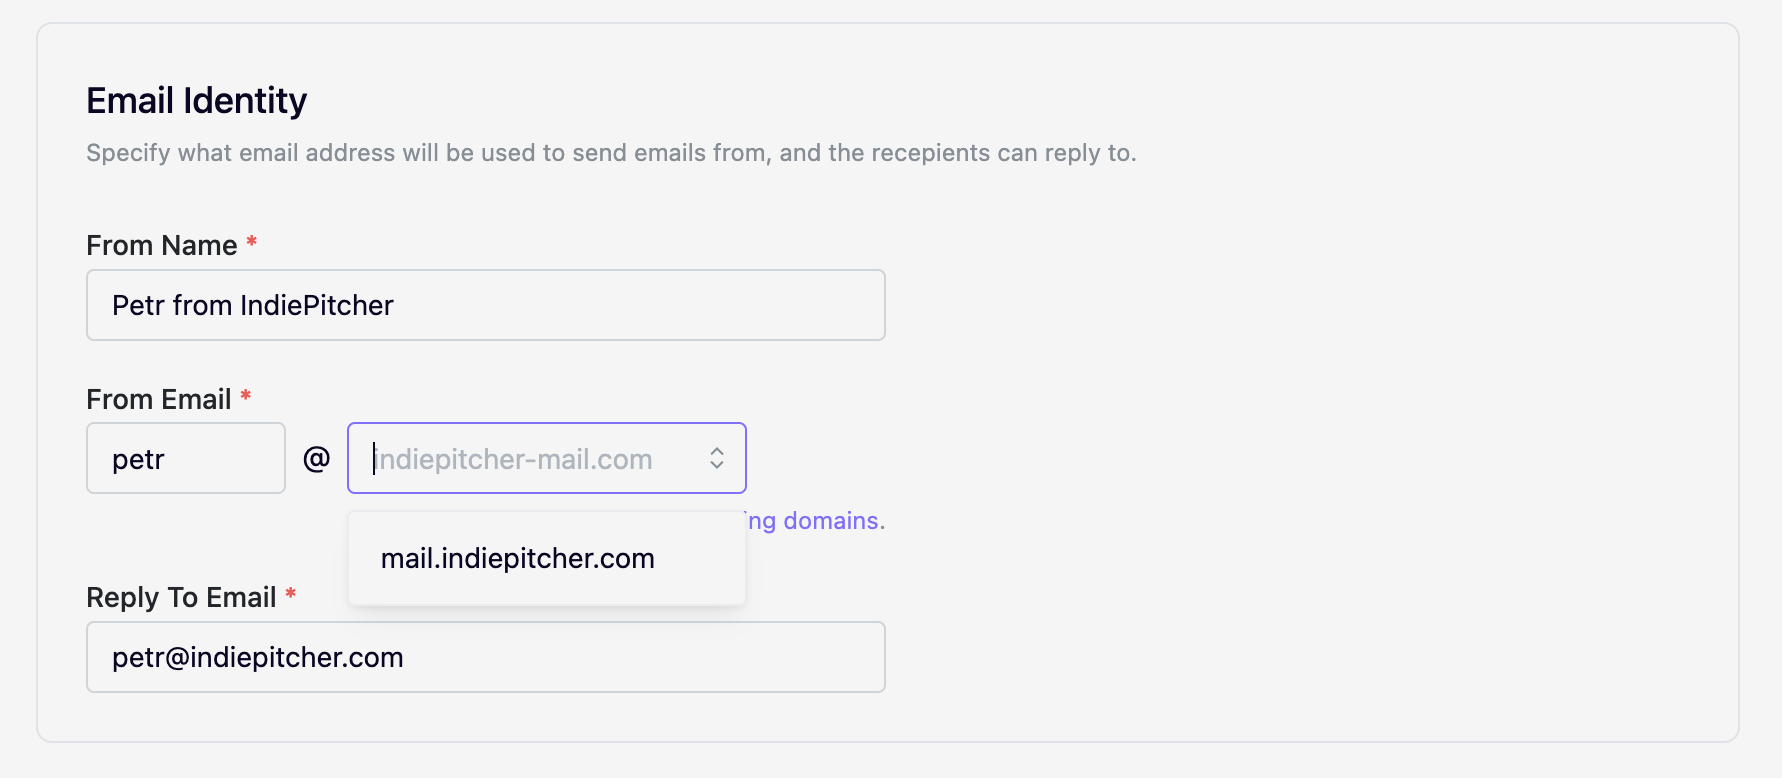
If you’re just getting started, you don’t need to configure anything! You can immediately send emails using our default domain:indiepitcher-mail.com.

Why Use a Custom Domain?
Configuring a custom domain has several advantages:- Professionalism: Emails appear as coming directly from your domain, increasing trust.
- Branding: Reinforce your brand identity with every email sent.
- Improved Deliverability: Custom domains improve email reputation and reduce the chance of being flagged as spam.
Setting Up a Custom Domain
Custom domains are tied to an organization rather than organization project. This allows to reuse the same domain across multiple projects. You can for instance have separate IndiePitcher projects the staging and production environment of your project, both using the same custom domain.
1. Add Your Domain
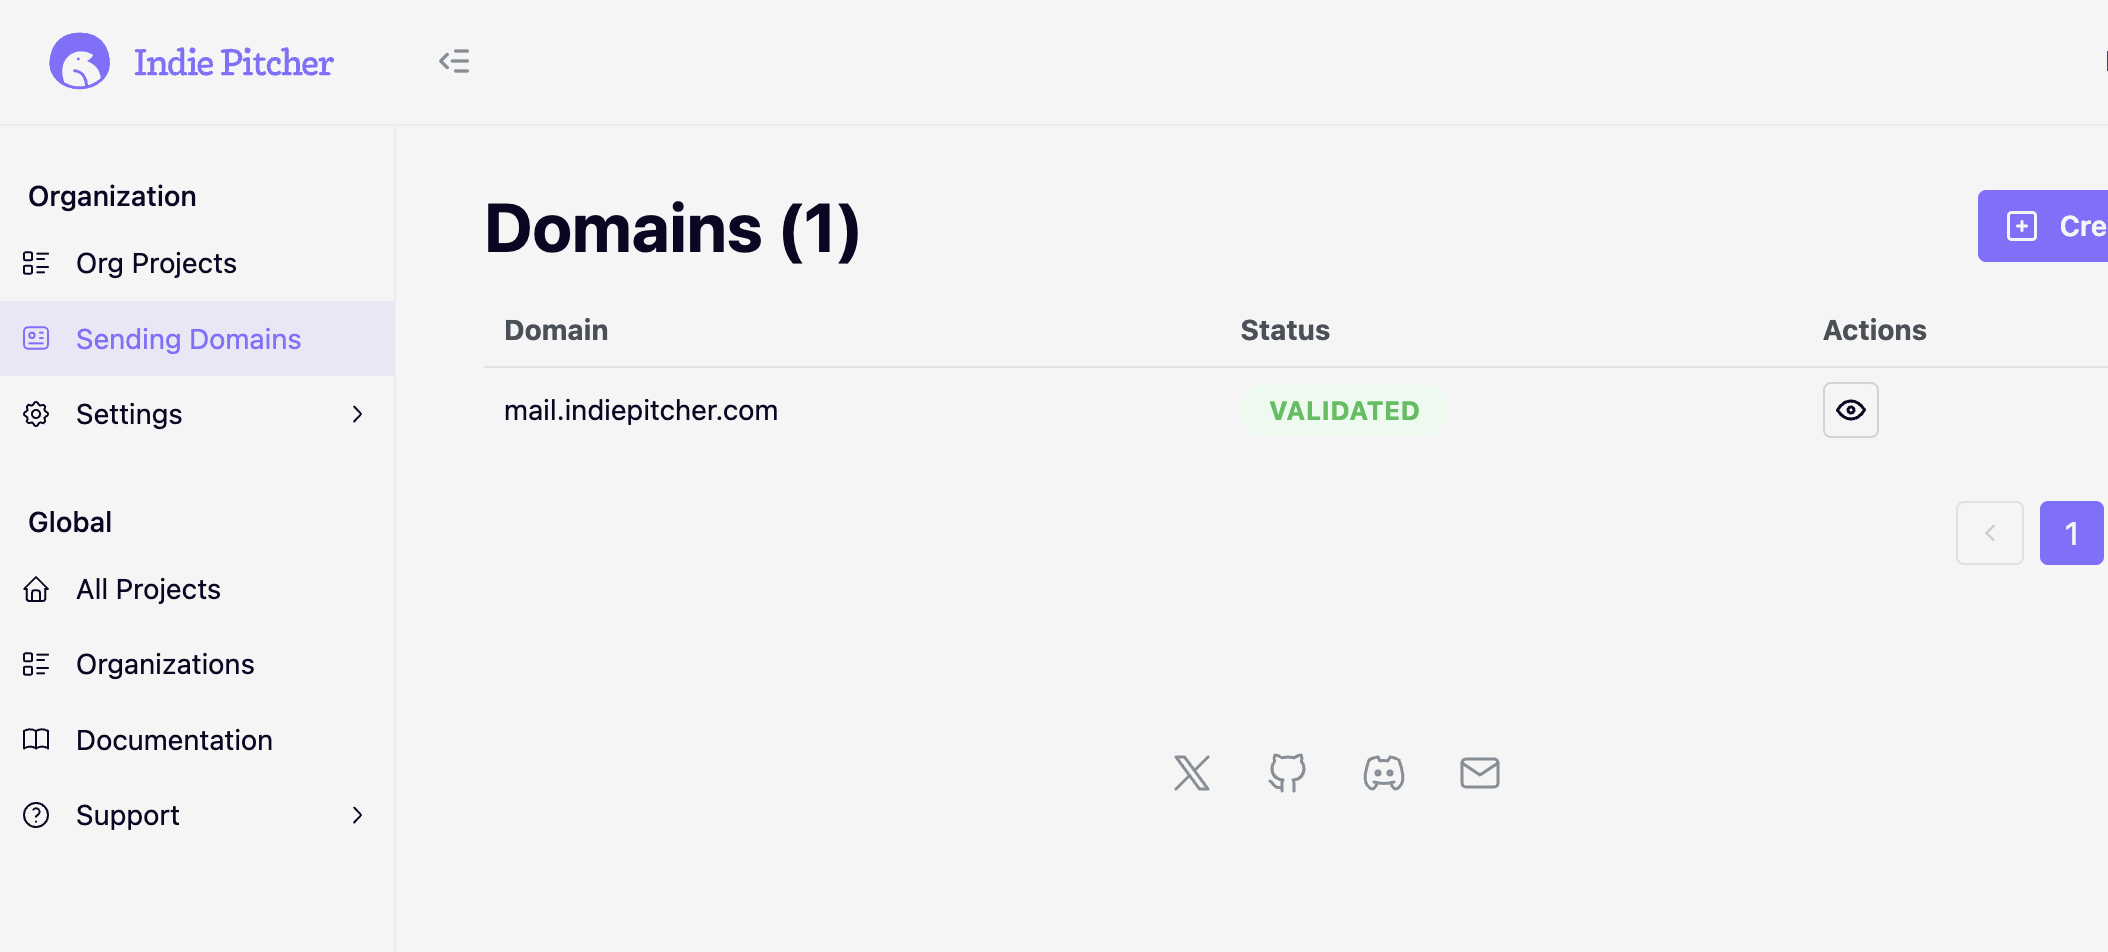
- Navigate to the Sending Domains section in your dashboard.
- Click Create and enter the domain you want to use for sending emails (e.g.,
yourdomain.com).
2. Verify Domain Ownership
To verify that you own the domain, you’ll need to add DNS records to your domain’s hosting provider. We’ll provide:- TXT Record: For domain ownership verification.
- CNAME Records: To enable DKIM (DomainKeys Identified Mail) for email signing.
Tip: DNS changes may take some time to propagate (up to 24 hours, but often faster).
3. Verify SPF and DMARC Configuration (Optional but Recommended)
- SPF (Sender Policy Framework): Add an SPF record to your domain to specify authorized email servers.
- DMARC (Domain-based Message Authentication, Reporting, and Conformance): Configure a DMARC policy to improve email security and reporting.
4. Wait for Verification
Once you’ve added the DNS records, return to the dashboard and click Verify Domain. Our system will automatically check for the required DNS records.5. Start Sending Emails
Once your domain is verified, you can start sending emails from any email address at your domain (e.g.,[email protected]).
Troubleshooting
Registering a custom domain can sometimes be tricky, feel free to reach out through any support channel and we’ll help to get you sorted. Here’s some common issues and how to resolve them:-
Verification Fails:
- Double-check your DNS records for typos.
- Ensure you’re adding the records to the correct domain (e.g.,
yourdomain.com, notwww.yourdomain.com). - Allow more time for DNS propagation.
-
Emails Marked as Spam:
- Ensure you’ve configured SPF, DKIM, and DMARC correctly.
- Avoid using misleading subject lines or content flagged as spammy.
FAQs
Can I use the default domain and a custom domain together?
Yes! You can send emails from the default domain (indiepitcher-mail.com) and your custom domain simultaneously, depending on your use case.
What happens if I don’t configure a custom domain?
You can continue using the default domain indefinitely. However, as much as we’re trying to be on top of spam and abuse, the deliverability using the default domain may not be as good as when using your own domain. Your emails will also show up as being sent fromindiepitcher-mail.com, which some recipients may find less professional.
Does the platform support subdomains?
Yes, you can configure subdomains (e.g.,mail.yourdomain.com) for sending emails. We recommend you do that to protect your main domain’s reputation.
By setting up a custom domain, you’ll maximize the professional impact of your emails and improve their deliverability. For any assistance, feel free to contact our support team.
